Bored with your kitchen cabinets? Want to change things a bit? Well, you don’t have to worry about costs and proper manual labor etc.
It’s so easy, you can do it yourself. All you need to do is follow the below given steps and you will also have vintage cabinets at your disposal.
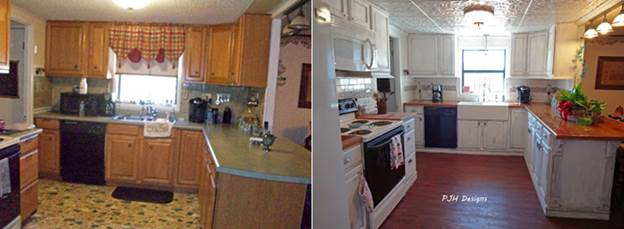
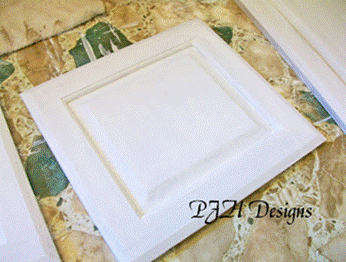
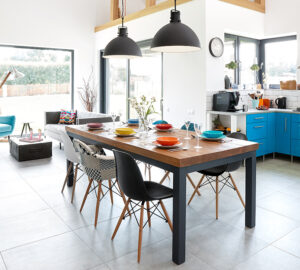
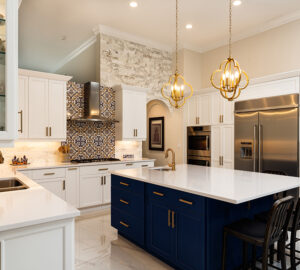
Before And After:
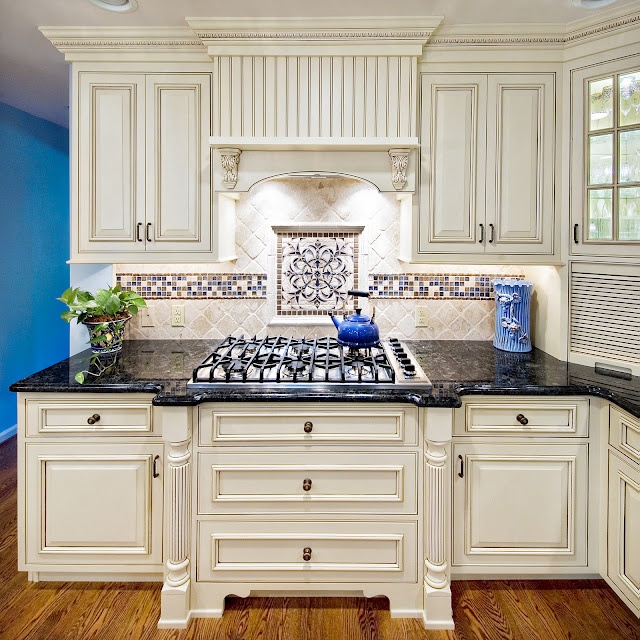
Your stock cabinets may look like this or in some other varying color.
Step 1:
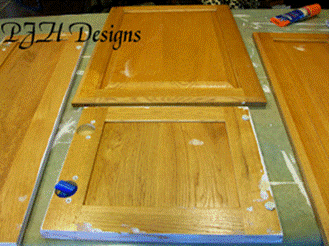
Start with the cabinets. Take all of them off. Number each cabinet when you take them off so you know which one goes where.
Paint the top cabinets a lighter shade than the bottom cabinets.
The color of the cabinets in the picture is oak finish.
Step 2:
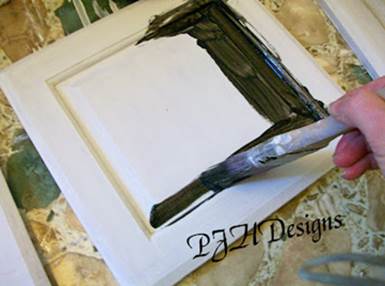
First do the top cabinets. Paint them a pure white shade.
Step 3:
Next, mix black pigment with a glaze and apply it over the top of the white paint you previously did.
You can also opt for a black acrylic or latex paint.
There is no need to panic because your paint job will not get ruined because of this.
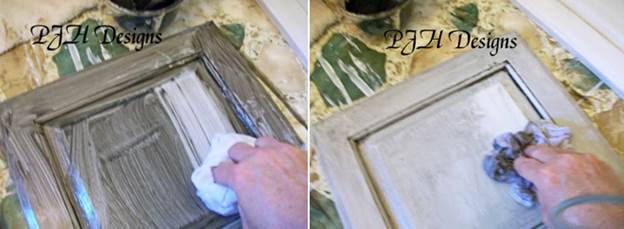
Step 4:
Next, take an old rag and remove the glaze. If a lighter shade is your preference at the end, then before applying glaze give your cabinets a light coat of clear, soft wax and let it dry.
After removing most of the glaze and leaving some for the details, if you feel that it still isn’t light enough for your taste, use a damp cloth and wipe the glaze.
If you still aren’t satisfied with the result, then apply a light coat of the pure white paint you used in the beginning.
Step 5:
Next, use ASCP clear wax. Apply it with a brush and wipe off the excess with a rag.
After letting the wax dry for a few hours, distress them. When they are completely dry to the touch apply another coat of wax. For the finishing touch, buff them to a light sheen.
Remember that the wax takes at least 28 days to full cure. During that time, handle the cabinets with care so that they don’t get scratched.
Step 6:
Now, moving on to the bottom cabinets, they are a bit different in that your first step is to paint them with ASCP Paris Gray or any grey color.
Then follow the steps above except when you apply the black glaze. You have to sort of slop it on in every direction so that when you dry brush the white on it would have more texture.
Dry brushing is a method of using a dry brush with most of the paint wiped off.
When you first start applying the paint you are barely touching the surface and as most of the paint is used you will press harder. You never want to get a solid looking brush of paint on the wood. Continue to apply a new coat after the old one dries until you get the desired effect or look.
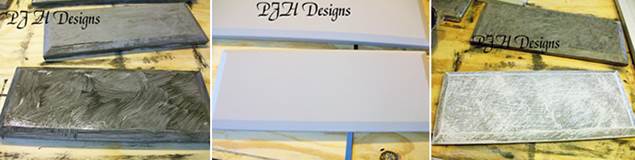
- The first picture is after slathering the black paint all over.
- The second picture is after wiping the glaze with a dry cloth.
- The third picture is after the second coat of dry brushing. You should do four or five coats to get an optimum look.
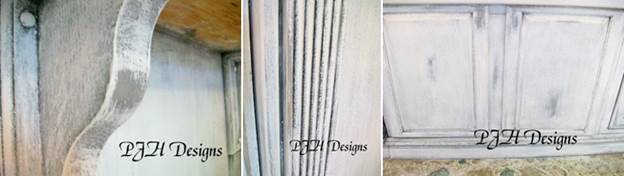
Step 7:
Now the next steps will make the bottom cabinets look different as compared to the top ones.
Apply a clear, soft wax and wipe off the excess with a dry cloth.
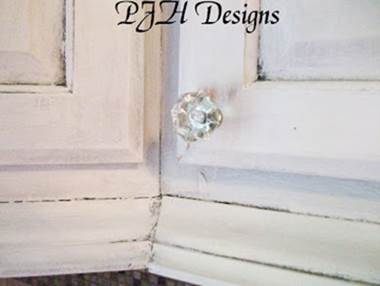
Then take a gray sanding block and started distressing them.
This will result in the gray paint showing through in spots giving the effect that they had worn over time.
You will want to distress anywhere you think they would naturally wear; around.
The handles and pulls, on the corners, at the base, etc.
With this easy step by step procedure you don’t have to worry about hiring someone to redo your kitchen.
You can just pick up a paint brush and start it yourself.
This is a good use of your time and energy and will make your kitchen look fabulous and different.
About the Author:
 Selena is a blogger who lives in Washington DC and loves to write on furniture and home decor related topics. She writes for the US-based Dining Showroom, a sister online store of eFurniture Mart.