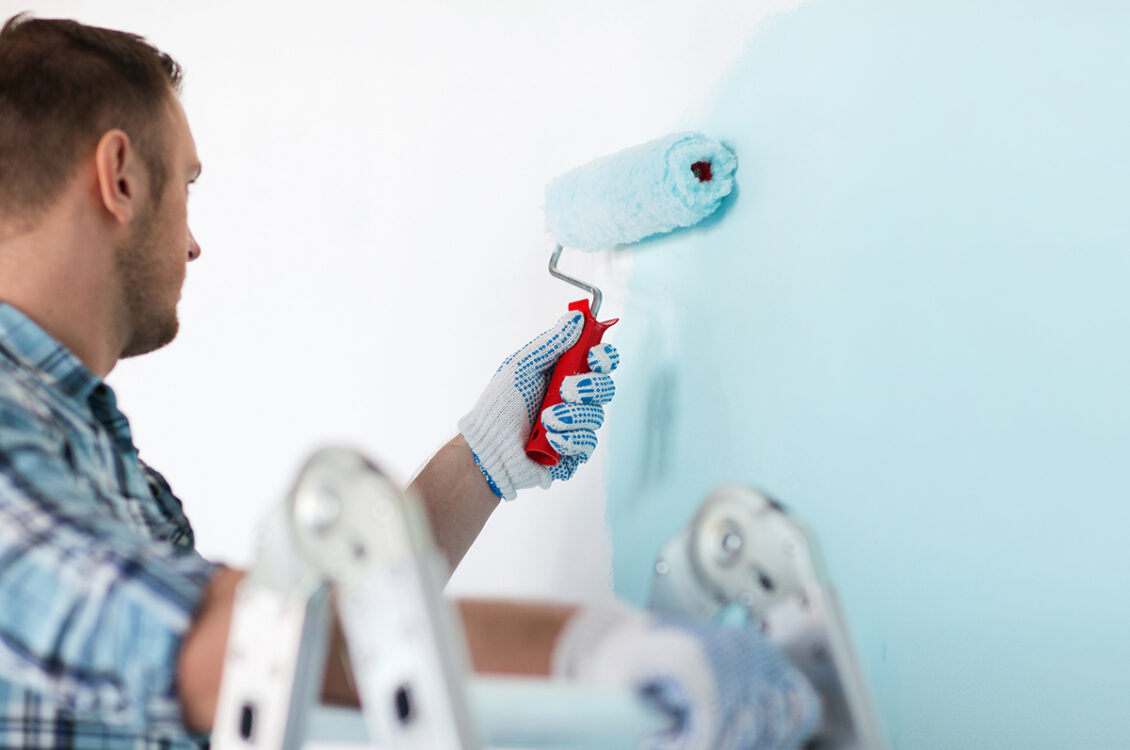
One of the best ways to refresh your home’s interiors is to repaint the walls. But although a painting job may sound tedious, and one might argue it’s a job best left to professionals.
Here’s a little secret: it all comes down to how well you prepare your walls before you start splashing on the colours. And while it’s easier to hire professional painting services, sometimes, a well-planned DIY can be a better idea, especially if you’d like to save on costs—and learn in the process too!
Now let’s get prepping! A bit of a caveat though: adequate preparation takes time. But remember, your preparation can make or break the final results of your painting job. Aside from making it easier to paint, it’ll also help you achieve the colours you want. Most importantly, it’ll make the paint last longer.
Getting Ready
To begin, move all your furniture items out of the room. If this isn’t possible, just move them towards the centre of the room and cover them with plastic sheets.
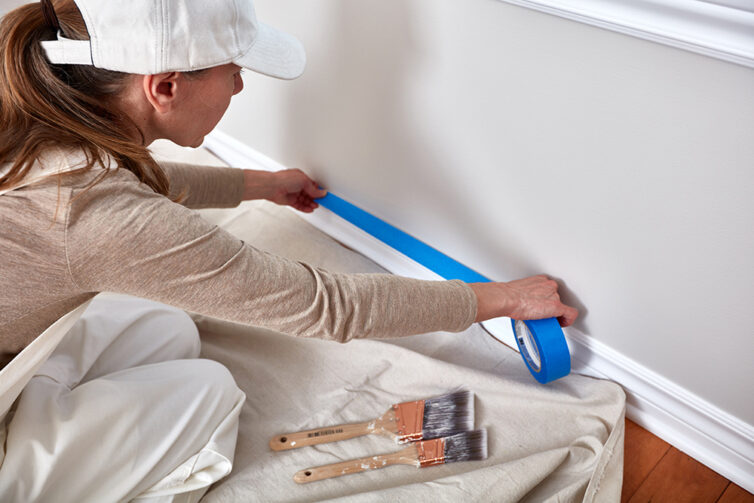
You can also start covering your floors, sconces, wall trims, and ceiling corners; and anything else you don’t want to be splattered with paint. While it’s common to just do this bit right before painting, the preparation process can be just as messy. Covering these surfaces early on will save you from having to clean up more areas.
Use painter’s tape to cover the edges of the walls. Just make sure to press and seal the edges with a putty knife to keep paint from seeping through.
Next, gather and prepare the tools you’ll be using. Make sure they’re clean. If you’ll be using electrical tools, test them if they’re working and if they’re safe to use.
1. Clear And Clean The Walls
Before you begin any work on your walls, clear it first—completely. Carefully remove all wall decorations. When you’re done, proceed to remove hanging nails and adhesive residues that may be left behind. Check for cracks and holes on the wall’s surface, and note of them for filling up later.
After clearing the walls completely, you can begin cleaning by dusting off dirt first. If the walls have grease or grime, use a sponge with warm, soapy water to wash them off. Soaps are also useful in removing adhesive residues that won’t come off. If you have stubborn stains, use special cleaners that won’t damage your walls.
When the walls dry off, you can use a vacuum to make sure there’ll be no residue. This also goes for the holes and cracks you may have spotted while cleaning.
2.Fill Cracks And Holes
If there are areas of your interior walls that popped after removing decorative fixtures, don’t make the mistake of ignoring them thinking you can just pass your paint roller over those holes. The problem with not filling holes properly before painting is that you’ll end up with spots of paint that won’t dry completely.
Before you start painting, check for cracks and holes first. Use a brush or vacuum to make sure no debris will be left, which will make it difficult for the fillers to stick. Next, fill them with flexible fillers using a filling knife to flatten the top evenly. Aside from the holes, make sure to also fill in any cracks and gaps. Allow the fillers to dry completely before proceeding to the next step.
3. Sand Down The Walls
After filling up holes and cracks, and drying them, you can sand them down to make sure you have a smooth, even surface. Sanding also works if you have peeling or flaky paint residues or minor wall bumps that you can’t get rid of through scrubbing and scraping.
If there are plenty of areas that need sanding down, use a pole sander with the appropriate grit to polish your walls faster. When finished, wipe down the walls with a damp sponge to remove any sanding residue and traces of soap.
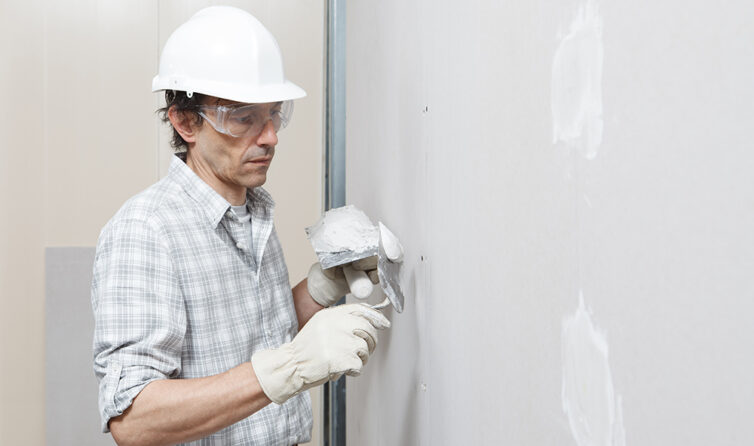
4. Plaster With Patience
Plasters provide a great protective layer for walls. However, using them can be tricky as it requires some know-how. You’ll also have to be patient as they can take anywhere between four to six weeks to dry completely. Painting new plaster too early, when still moist, will just leave you with peeling paint. And this mistake can ruin your entire project.
Once dry, sand the walls down lightly and remove the dust with a damp cloth. Be careful not to make the surface wet or the plaster would be moist again and won’t hold paint.
5. Start Priming
When your plasters are all dried up and sanded down, you’re ready for priming! Wall priming is another step in the preparation process that you shouldn’t miss. Primers act like a surface seal that protects your wall while also improving paint adhesion.
If you don’t have a primer, you can also just spray a mist coat. This is essentially just a thin, watered-down emulsion. If you’re not sure what type of primer to use, you can consult with your paint supplier to find out what types of primer will best suit your walls.
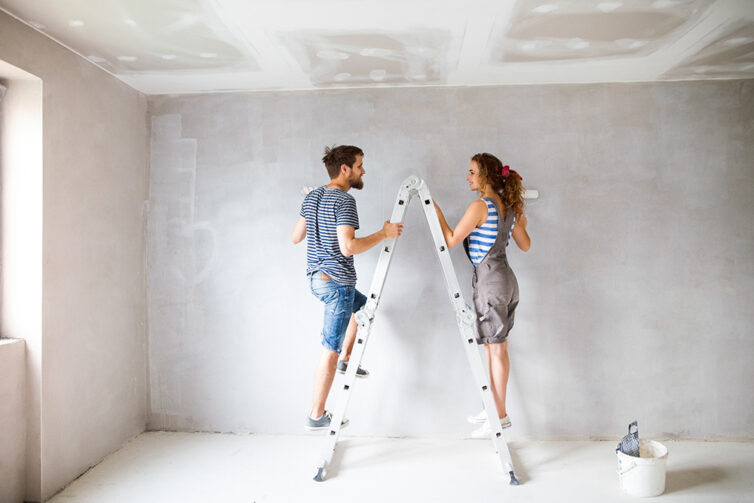
Time To Breakout The Paint Buckets!
DIY wall painting is definitely not an easy job. But what you can learn in the process, and of course, the final results, will all be worth it. Just remember that preparation is key to a great paint job. Take some time to research the best materials for the type of wall you’ll be working on, especially if it’s wood. Consulting with professionals will also help you learn the process faster.
Now you can finally whip out your paintbrushes!

