If you’ve ever bought paint, and navigated the endless options in any DIY megastore, you’ll be familiar with the different finish options that most brands offer; namely matt, semi-gloss and gloss.
While it can seem like a finish wouldn’t make much of a difference, you would be surprised to see just how much impact it can have on the look of surfaces and how they catch the light.
Gloss paint is the type of paint with the highest shine and can make wooden &metal surfaces look incredible. However, there are a few precautions to take if you want to have a perfectly smooth finish. In this post, I’ll cover the different steps needed so you can achieve that perfect glossy shine.
Choose the most appropriate paint
First things first, you’ll have to select which paint you want. Most brands will offer a gloss finish in a wide range of colours, like this one from Dulux, so that you will be spoilt for choice. Make sure to choose the highest level of gloss possible, as some brands may offer options that are halfway between matt and glossy. They may have different names for their finishes, but most will be called gloss, super gloss or high gloss paint.
Have you got the paint? Great, let’s get started.
Prepare the surface
Preparation is always important, but you do not want to skip or rush this step when it comes to glossy finishes. Shine will highlight every little quirk on your surfaces, so taking some time to prep them is key to achieve that smooth finish.
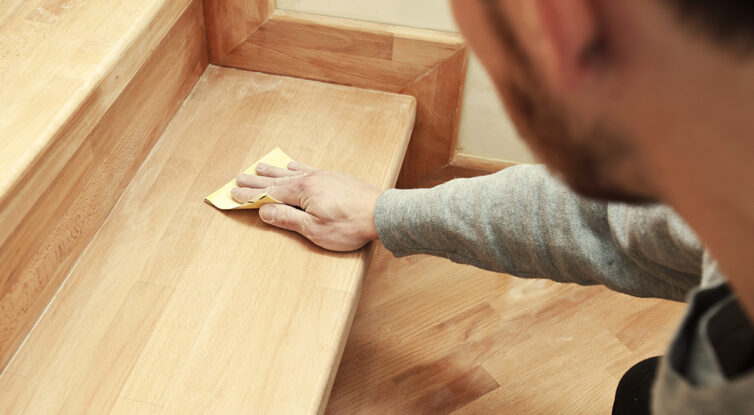
If painting over raw wood, lightly sand the surface with fine sandpaper, so they are smoothed out. If you are painting over varnish or gloss paint, you will need to either gently sand the layer away or strip the paint using a specific product, depending on how thick the layer of paint you have to remove is. The bottom line is, do not use gloss paint over gloss paint.
If you have any cracks or holes in your surface, you’ll have to spend time repairing them using wood fillers or caulking. Again, this might seem tedious, but you won’t achieve a smooth finish without doing this work first.
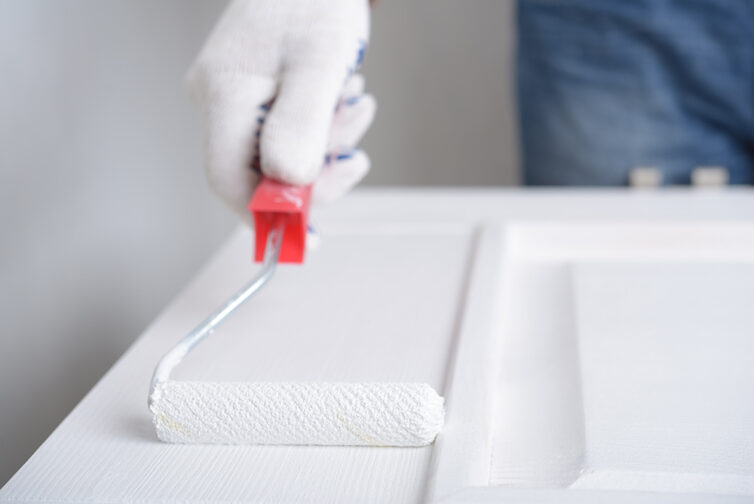
Don’t forget to prime
Priming is particularly recommended for wooden surfaces as the wood can take to paint unevenly, which would simply ruin the finished results. Apply a coat of primer to the entire surface, making sure that the paint is well mixed and that you are applying evenly with a paint roller (brushes can leave bristle marks).
Do not oversaturate the paint roller. Ensure the paint is spread out evenly on the roller cover so you don’t create drips or apply too much paint (which again) would lead to uneven paint application.
Add a topcoat
Once the primer is completely dry (you don’t want to paint over wet paint!), you can apply a topcoat. You can use the same tools you used for the primer – just make sure that they have been completely cleaned and dry. Paint rollers can be very difficult to clean, so you could use a new roller sleeve here.
Before applying your topcoat, make sure the surfaces are free of any dust or debris. You can use very fine sandpaper to remove any brush marks and make sure that the surface is perfectly matt.
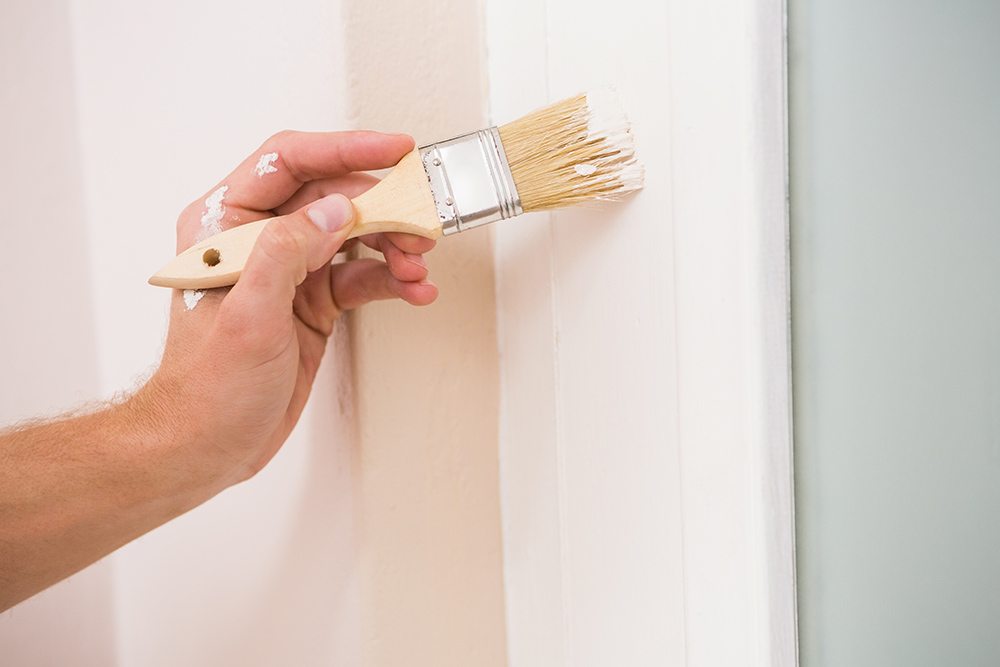
The final coat
This final step will give you the perfectly smooth glossy finish you’ve been looking for! For this step, you may want to use paintbrushes suitable for this type of finish. Load the brush with paint and wipe away the excess before painting a thin coat over the surface. Avoid painting in different directions, so you don’t create marks or texture.
And there you have it, a smooth glossy surface! While gloss paints can require more work and planning, the final result is worth the effort.
If you’re in the midst of DIY work at home, you can find more guides here, so you are prepared for your next project.


