
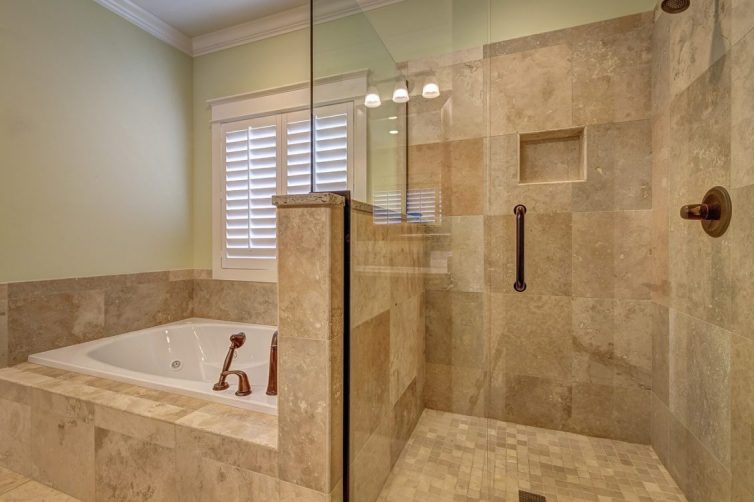
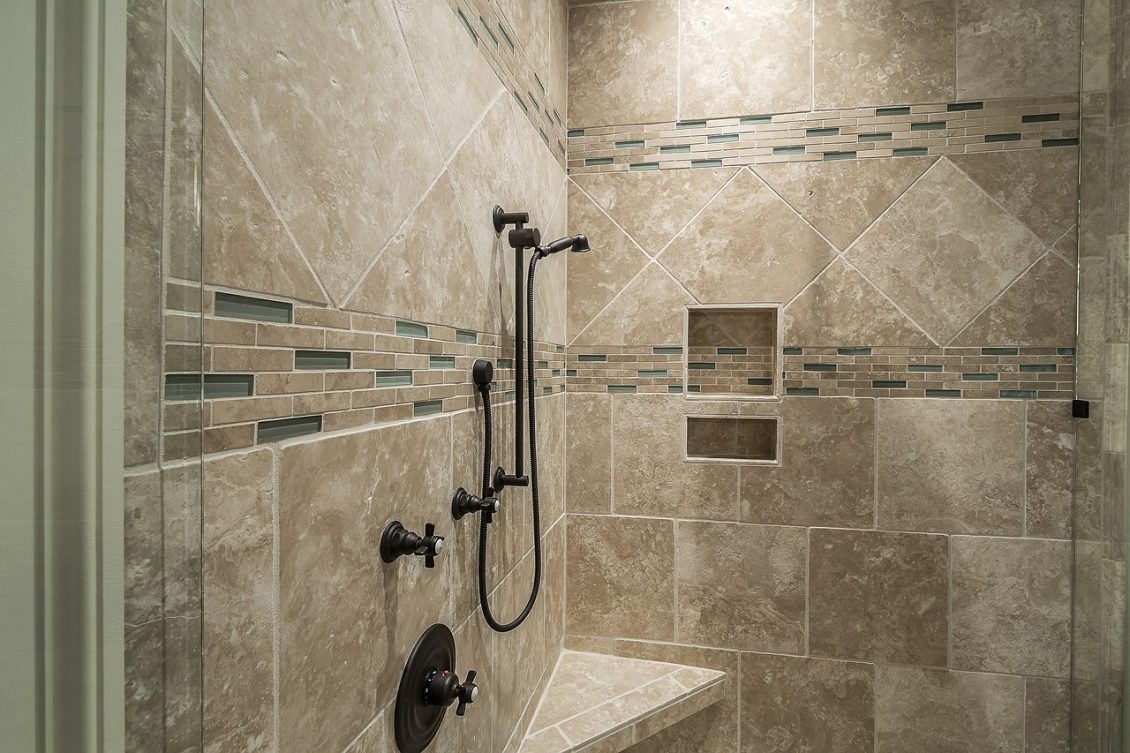
Are you thinking of updating your bathroom? Wall tiles are the obvious answer, and they can be a cost effective way to transform the look of the room. There are thousands of designs to choose from and – best of all – you can do the job yourself as long as your DIY skills are at a decent level.
Careful planning and preparation are key to your tiling success. Visit a reputable supplier for professional advice and guidance. They will supply you with the right number of tiles as well as all the other materials for the job, including tile adhesive, spacers, wall trims, a tile cutter, tile grout and sealant.
Boxes of tiles clearly state how many square metres of wall each pack of tiles covers. All you have to do is measure up your bathroom walls and then buy the required number of boxes. But allow about 10% extra for spares and wastage.
Next, take 10 minutes or so to watch a video demonstration on how to tile bathroom walls here before following this brief guide to successful bathroom tiling.

Step 1
First make a gauge stick so you know exactly where to position your tiles. Using a length of timber, put a tile on it lengthways. Check that it’s flush with one end of the wood, and make a pencil mark on the wood where this tile finishes. Then place another tile next to it and separate the two with tile spacers. Mark where the second tile ends. Repeat until there’s no space available on the wood. Cut off any excess, then make up another wood gauge for the width of the tiles.
Step 2
Measure the width of the wall you’re going to tile first. Find the centre point of the wall and mark it. Now, using a pencil and a spirit level, draw a vertical line at this mark from the ceiling to the floor. Hold your gauging stick up to the lines you’ve drawn on the wall and draw out your tile positions.
Step 3
Starting at the bottom, prop your first tile up on the wall (use spacers for the grouting). Place the tile against the line on your wall and mark for the first cut. Cut the tile in your cutter.
Step 4
With a notched trowel, apply adhesive onto the back of a tile, then gently press it into position onto the wall.
Step 5
At the spot where the tiles are higher than the top of your bath, draw a horizontal line just above the tub using your spirit level. Any tiles laid below this line must be cut to size. You may have to make a shaped cut to the tiles that meet the lip of the bath.
Step 6
Apply adhesive onto the back of the cut tiles and press gently into position. Use spacers along the top of the bath to allow for the sealant. Do the same with the rest of the cut tiles. With these tricky cuts done, smear the adhesive directly onto the wall. It’s best to tile roughly one square metre at a time.
Step 7
It’s a good idea to fit wall trims on the external corners for a more professional finish. Cut trim to length, apply a line of adhesive on the spot and press the trim in. Use a damp sponge to wipe clean.
Step 8
When you’re done, leave to dry completely before grouting. Add grout a little at time to water in a bucket and mix to a soft consistency. Let it sit for five minutes or so before using.
Step 9
Scoop some grout onto a squeegee using your trowel. Work the grout into the joints. Grout one section of wall at a time and wipe off any excess. Leave for around 10 minutes, then using a slightly wet sponge to wipe down the wall. Rinse the sponge regularly. When you’ve finished, leave it for 5 minutes, then repeat. After an hour you can polish the walls with a soft dry cloth.